Since my son wasn't overly enthusiastic the other day about trying out the paints and getting his hands all dirty, we tried it again today. He seemed to enjoy it a little more and, although the other paint that he had done on the canvas had already dried, it made no difference using the same canvas - he still enjoyed it and it still turned out wonderfully.
 |
| All business |
In follow up to my last finger paints post, I thought I'd fill you in on how well the paint worked after 3 days. It pretty much had solidified with a little bit of runniness, but it still worked - at least the parts that weren't like a sort of jello worked. The yellow, for some reason, wasn't as lumpy and I popped it in the microwave for 10 seconds to see if that would help and it did! I actually thought it painted even better than it had before! Popping the rest of the colors that didn't have as much liquid in them did not help, however. My guess is that if I had made them originally without allowing the base to get lumpy, the paint would've lasted longer. There's the lesson for me - don't let it boil and keep stirring the base until it thickens so as to not let it get lumpy. Either way, the paint still worked fairly well and Cade seemed to have fun.
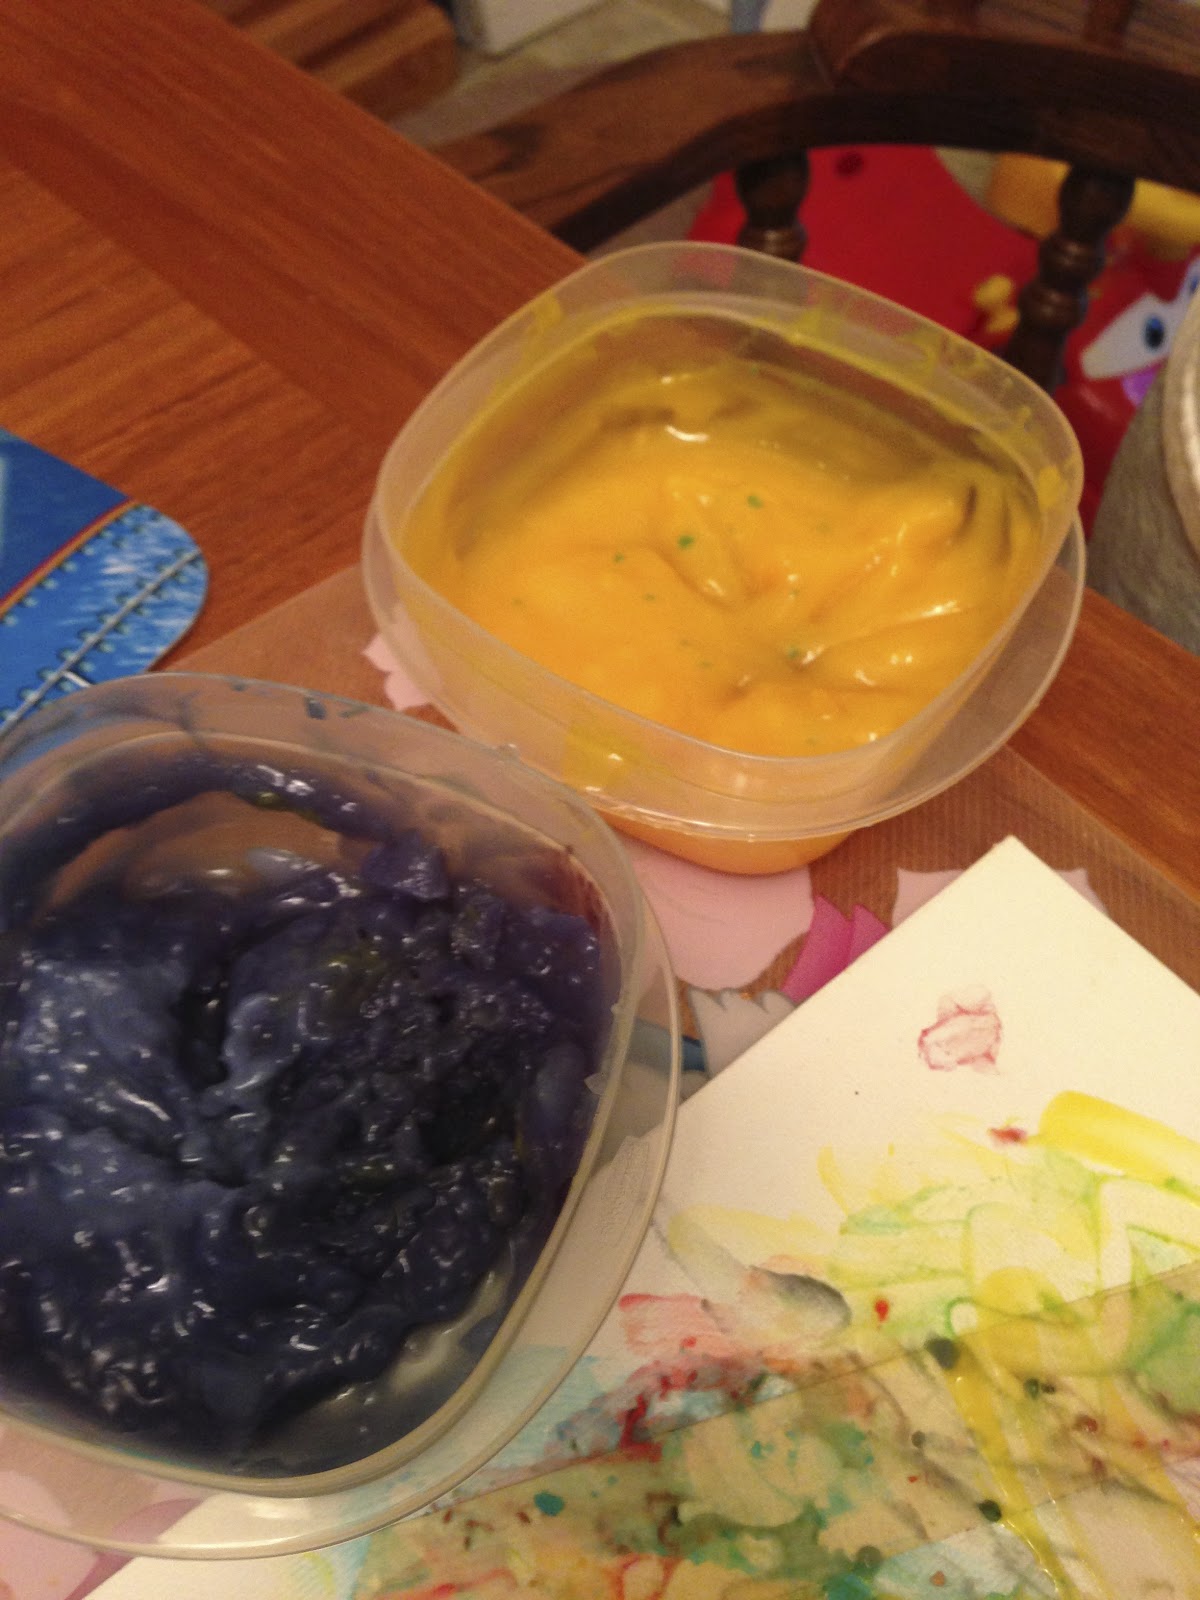 |
| As you can see, the yellow (I used the same stirring spoon that I used for the green - hence the green dots) had the right consistency, but the purple was much harder to use as it was a little too lumpy. |
And, here is Cade's completed work of art before it was dry. It's not very pretty (which I blame on the ugly tan tape that was on there), but it worked for him and he had a good time. That is, of course, the goal in making this.


No comments:
Post a Comment