Monday, September 29, 2014

Clean Your Dyson Animal Vacuum

I'm pretty sure that this whole post I will have to spellcheck a few times. If I needed to spell vacuum at a spelling bee, I would definitely fail. Thank God for automatic spellcheck! This post is a mix of a few different blogs and videos that I saw on how to clean your Dyson. I, personally, have the Dyson Animal. It's a great vacuum, but it certainly needed some TLC recently. You know how the filter/tube thing in the middle gets dust bunnies caught in it? Yeah, that was mine. It was pretty much just one giant dust bunny.


This specific model seems to be different to clean than most, but here is the video that I referenced in order to get my Dyson cleaned. 


I ended up taking my vacuum pretty much all the way apart looking for the top filter, which, by the way, I never found. However, my vacuum was cleaned even more thoroughly as I used a screwdriver and cleaned everything. And, I mean everything. 

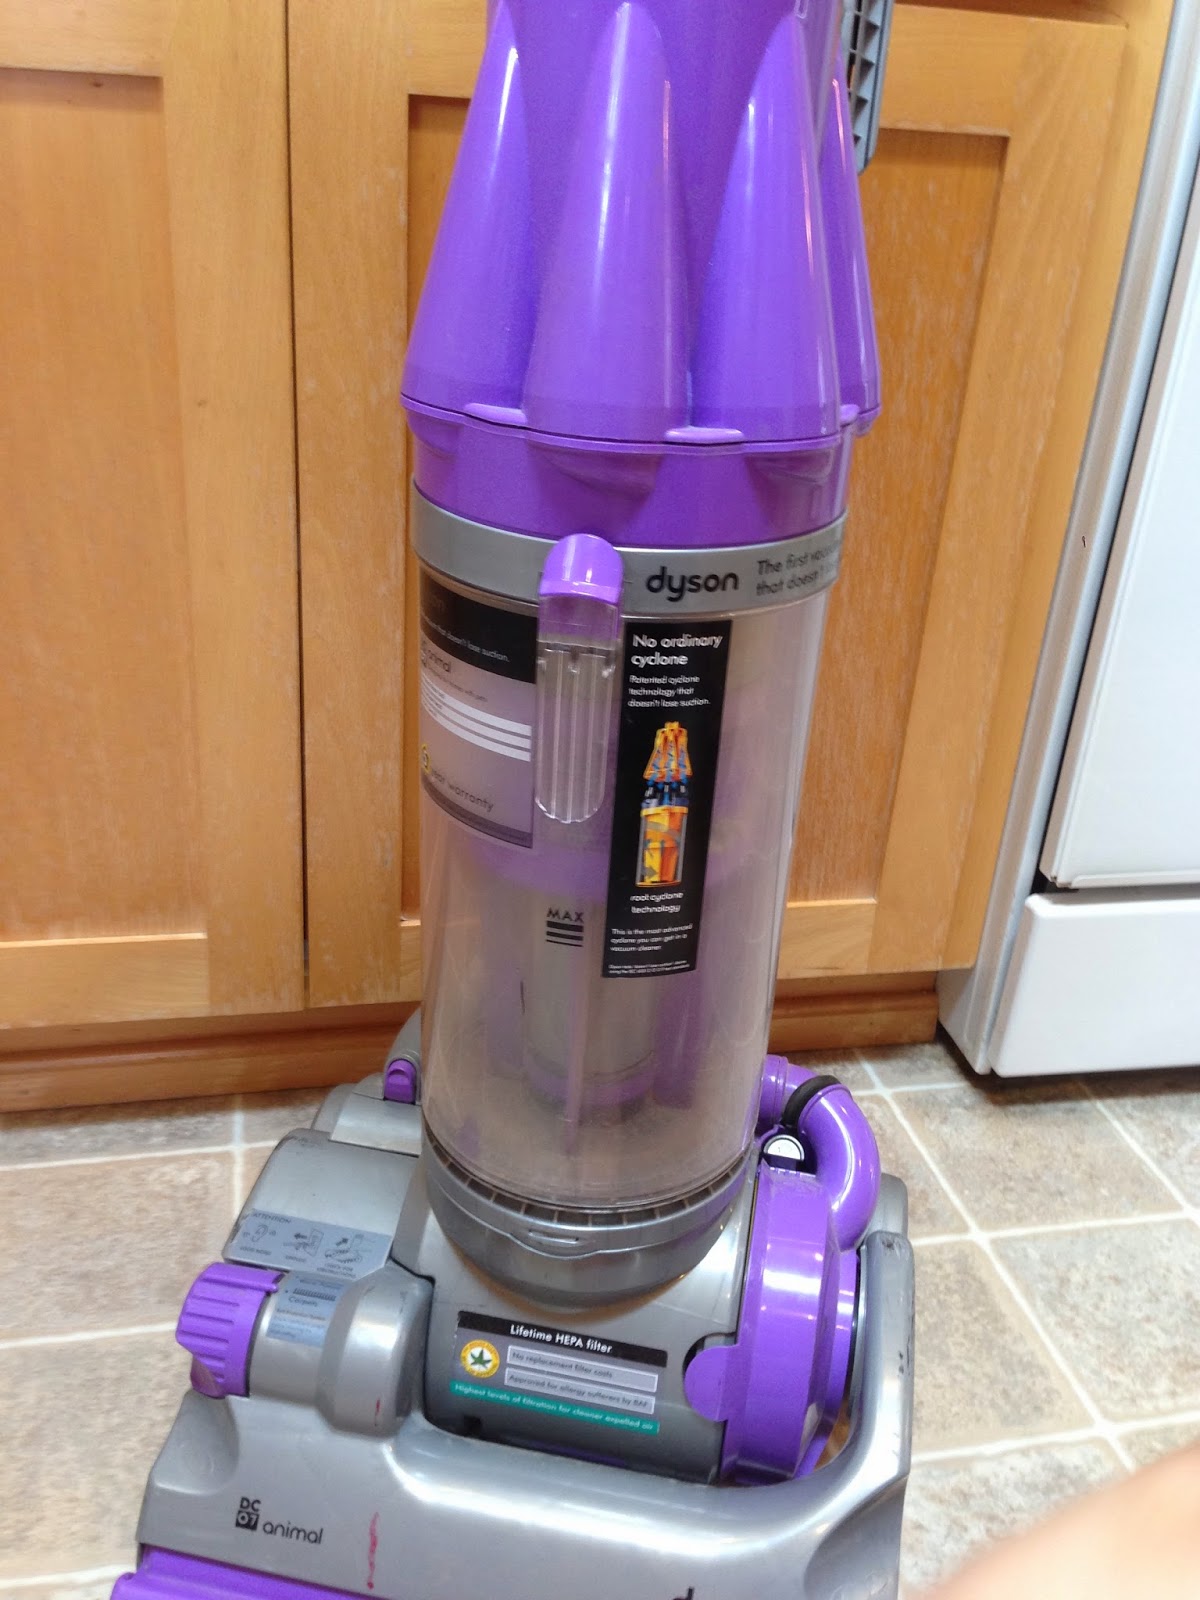
Start by taking off the canister by pressing the button up to unlock and remove. I'm including a lot of pictures to be sure I remember for the next time I have to clean my vacuum. :)


Be sure to remove it either in the garbage or in the sink so it can be easily cleaned up. 


Here is where I went too far; I unscrewed the top of my vacuum cleaner just looking for that top filter. A filter that couldn't be found. 


However, because of removing the top, I was able to clean the nasty inside of my vacuum in a different way than recommend in the video (seriously, all I would've had to do was poor water in and dump it out over and over. But, not me, I decided to unscrew the whole thing. Smarty pants that I am.)

 See? Filthy. Notice that stick in the middle? That's important when re-assembling your vacuum cleaner, it is the doohicky that opens the canister.

Start cleaning that nastiness out by just letting the water run through it. Again, this was the longer version - all you really have to do is lift up the part that's not the canister and fill it with water and dump it over and over, as per the directions in the video above.

Look how much prettier it is all cleaned out!


Once that is done, put the filter-y looking thing that the canister sits in under the water and rinse that out, using a scrub brush, if you'd like.


And, I went so far as to clean out the top of the vacuum cleaner - the part that I unscrewed. 

This next part (which I actually did halfway through the cleaning process of the top of the vacuum,) is simple and exactly as described on the vacuum and in the video. Remove the other filter. (I only found one to remove.) First, fully extend and lay flat your vacuum.


This is where you remove the filter (this is the right side of the vacuum if you are standing with the rollers (AKA the sucky part) facing you).

Look at that there filter!


To clean this, all you do is put the sponge part under the water and then squeeze it. Repeat until the water squeezed out is clear. Then put the sponge holder under the water and rinse, again, rinsing until the water flowing through the holder is clear.


Use a washcloth or clorox wipe and wipe down the rest of the vacuum and then, let it all dry for 24 hours. I laid it in the sun to be sure it would be completely dry. But, before I did that, I took a picture. Look how clean and pretty my vacuum pieces are now. (That little purple piece there to the right of the picture is a little piece that broke off, but not to worry - it has not made my vacuum work any less, thankfully.)


And there you have it. Cleaning your Dyson animal. PS - this blog post is mainly for my benefit so that I remember how to clean my vacuum next time I go to do it! :)

Thursday, September 25, 2014

Creamy Chicken and Asparagus Pasta

I have been so busy with Pinterest Tests but haven't posted about many recently! I have some catching up to do.

Since I've been cast in "Young Frankenstein the Musical," I've made it a goal to have dinner ready before my husband gets home so we can eat together as a family before I leave for rehearsal. I've used Pinterest multiple times a week for this purpose. The recipe I'm going to post about today is creamy chicken and asparagus pasta.


I didn't take many pictures of the process of making this meal as cookingclassy's blog has done a great job of laying it all out with pictures and the like.

This was a very rich meal. I think we'd like it better without the *gasp* bacon. I know, crazy, right? Most people would probably like it with it, but it made it a little too heavy for us. We think that's what it was anyway. It was still yummy, but I feel like it needed some adjusting. I'm thinking of adding sun-dried tomatoes and omitting (or using less) bacon. It didn't seem to reheat all that well, either. So, be prepared to eat it all in one sitting. Not that it was bad reheated, it just definitely wasn't as good.


And that's what I've got on this. Enjoy!


Monday, September 22, 2014

Thai Steak and Green Bean Stir Fry

Ok, I've done a whole lotta food posts recently - but that's what I've been experimenting with more recently. I'm gonna have to try to make a goal to do something else at least once a week at some point...but, that's not gonna be today! This is one of my recent favorites. Thai Steak and Green Bean Stir Fry.

Picture from Barefeet in the Kitchen's blog
A couple of things that I did differently: I did not have any fresh ginger, so I used just a bit of ground ginger. I also used thai noodles rather than rice. And, I tried using coconut oil once and olive oil once. I preferred the coconut oil, although the olive oil was very good as well. I also used soy sauce rather than fish sauce, which I think would be the only preference of my family.


I used fresh green beans from our CSA box which was very nice for my 3-year-old son because he was able to help me snap the beans. He totally enjoyed that process. It was a little more work for me as I had to pick out some of the ends from the good green beans, but it was still nice to work alongside my son in the kitchen. 


Once everything was cooking, the smell in my house was divine. Oh goodness, did it smell wonderful. 


My husband said he would've preferred for the green beans to be cooked a bit longer, but I thought they were perfect. I like them to be a little crunchy. This dinner is a keeper. It is so very yummy. Give it a try, I bet you'll be pleased too. I mean, if you like green beans...and steak...if you don't, don't bother. ;)

Monday, September 15, 2014

Tomato Basil Chicken

I love fresh basil and the taste and smell of it. Oh yum! We've gotten a lot of basil in our CSA box recently, so I have been frequenting the Pinterest boards to find new, tasty recipes. The most recent wonderful recipe I've discovered is this Tomato Basil Chicken.

Photo from Pinterest
This is refreshing. Kinda sorta tastes like summer. It didn't dirty up too many pots and pans, either, which is always a plus.


I used some cherry tomatoes and some romas. This is a dinner that is sure to delight your tastebuds. Give it a try and bask in the final days of summer.


Wednesday, September 10, 2014

Summer Squash Burritos

As I've mentioned before, we get a produce box weekly from a local farm. Generally, we end up with veggies that I wouldn't buy on my own, making it a fun weekly challenge to try out new recipes. Recently, we received yellow squash in our produce box. Yellow squash is probably not that difficult to find a good recipe for, but I never had really tried - other than just sautéing it. But, I found a fabulous recipe that I really enjoyed. Summer Squash Burritos.

Photo from Pinterest

I changed the recipe up a bit and added steak to the burritos - making them no longer vegetarian. I guess I just like meat too much. But, for my vegetarian friends - this is vegetarian friendly!

I first sautéed some onions, then added strips of steak and then put in the yellow squash. I have also added zucchini to it, and that is quite tasty as well.


Add the tomatoes and cheese and wrap in a tortilla and you have a meal. A tasty, rather quick meal. I have now made this recipe multiple times, so this is definitely a tried and true. And you should give it a try and see if I'm telling the true...th. haha! Ok, it's late - that was a bad one. ;)

Monday, September 8, 2014

Duct Tape Wallets

Hi Blogosphere!

I'm back! I'm sorry for my long-time lack of posting. Last week, I had a glorious vacation with my family at Disneyland and ran the Disneyland 10k (for those non-runner types, that would be 6.2 miles).

It was absolutely wonderful. I intended to have a few blog posts ready to go before I left, but I let time get away from me and never got it done. But, I'm back now! And ready to go!

A few weeks ago, I watched some of my nephews and one of my nieces. It was a wonderful, busy, full, active time at my house.


As usual, the kids were anticipating and looking forward to the project that Aunt Heidi would have planned. Because of the vast ages (10 months to 10 years) ranging at my house, finding a project suitable for all ages seemed a challenge so I focused on a project for the oldest boys. As they had to be the helpers for the day, I thought it nice to reward their hard work.

Finding a project for boys that are 9 and 10 years old is challenging. So, I did a Pinterest search for "Activities for Tween Age Boys." Much to the chagrin of my sister ("my boy, a tween?! eek!"). But, I found the right activities for them.

The first pin I found was a perfect find: 20+ unplugged activities for Tween Age Boys. There were many, many good ideas on there - but I found the one that intrigued me the most and went with it: Duct Tape Wallets.


The items needed for this craft: duct tape, measuring tape. That's it. I actually used a grocery bag as well, to mark down the measurement spots so  I could use it a few times without having to keep the measuring tape out. That worked well. 


My niece and other nephews were a little bummed that they couldn't do this project as well, but it was kinda difficult for the older boys and I knew frustration and tears would've been the results of having the littler kiddos trying to do this as well. Thankfully, they got distracted and enjoyed playing together. 


Apparently, duct tape is a comfy pillow and mask?? :) Silly boys. The first layer of tape was pretty easy for the boys to apply, the next layer, not so much. We ended up having to rip two sets of the first and second layers when all was said and done. News flash: duct tape is sticky. This project is easiest when you can use 4 hands. 


The instructions for the pockets on the wallet were a little tough for me to understand, so I struggled with that, but the boys were happy with the results regardless...and I think I kinda got it figured out...however I don't have a clearer way of writing it than what is said in the blog, so I can't help you any further in understanding it...sorry.


The one thing I would caution, if you are using a directional patterned duct tape - like Superman, here - you will want to make sure that the overlapping is done at the top of the pattern rather than the bottom of the pattern. Gabe's wallet had to be adjusted a bit so it wasn't upside down. It worked out alright, but we just had to change it up a bit.


Check out the instructions on the blog - they are pretty clear and the boys loved making these. And they are able to hold library cards, cash, and the like in their fashionable duct tape wallets. 

Oh! And I got in on the action as well. Have you ever seen the patterned duct tape at the store and thought "boy, I wish I had a use for that! Oh well, I'll get it anyway." Well, I had some of that duct tape and finally found a use for it in this duct tape wallet. :) I made one for Peyton and one for myself.


None of them were perfect, but they are all useable and fun! And now you know. A fun project to do with you *gulp* tweens. And to finish it off, here are two more pictures from our trip to the happiest place on earth.


(Cade got that costume as a surprise gift when we got to Disneyland..afterward, he wouldn't take it off. He was in Heaven. And Disneyland is the perfect place for it - according to cast members at Disneyland (aka Disney employees) he wasn't in a costume - he WAS Buzz Lightyear.)