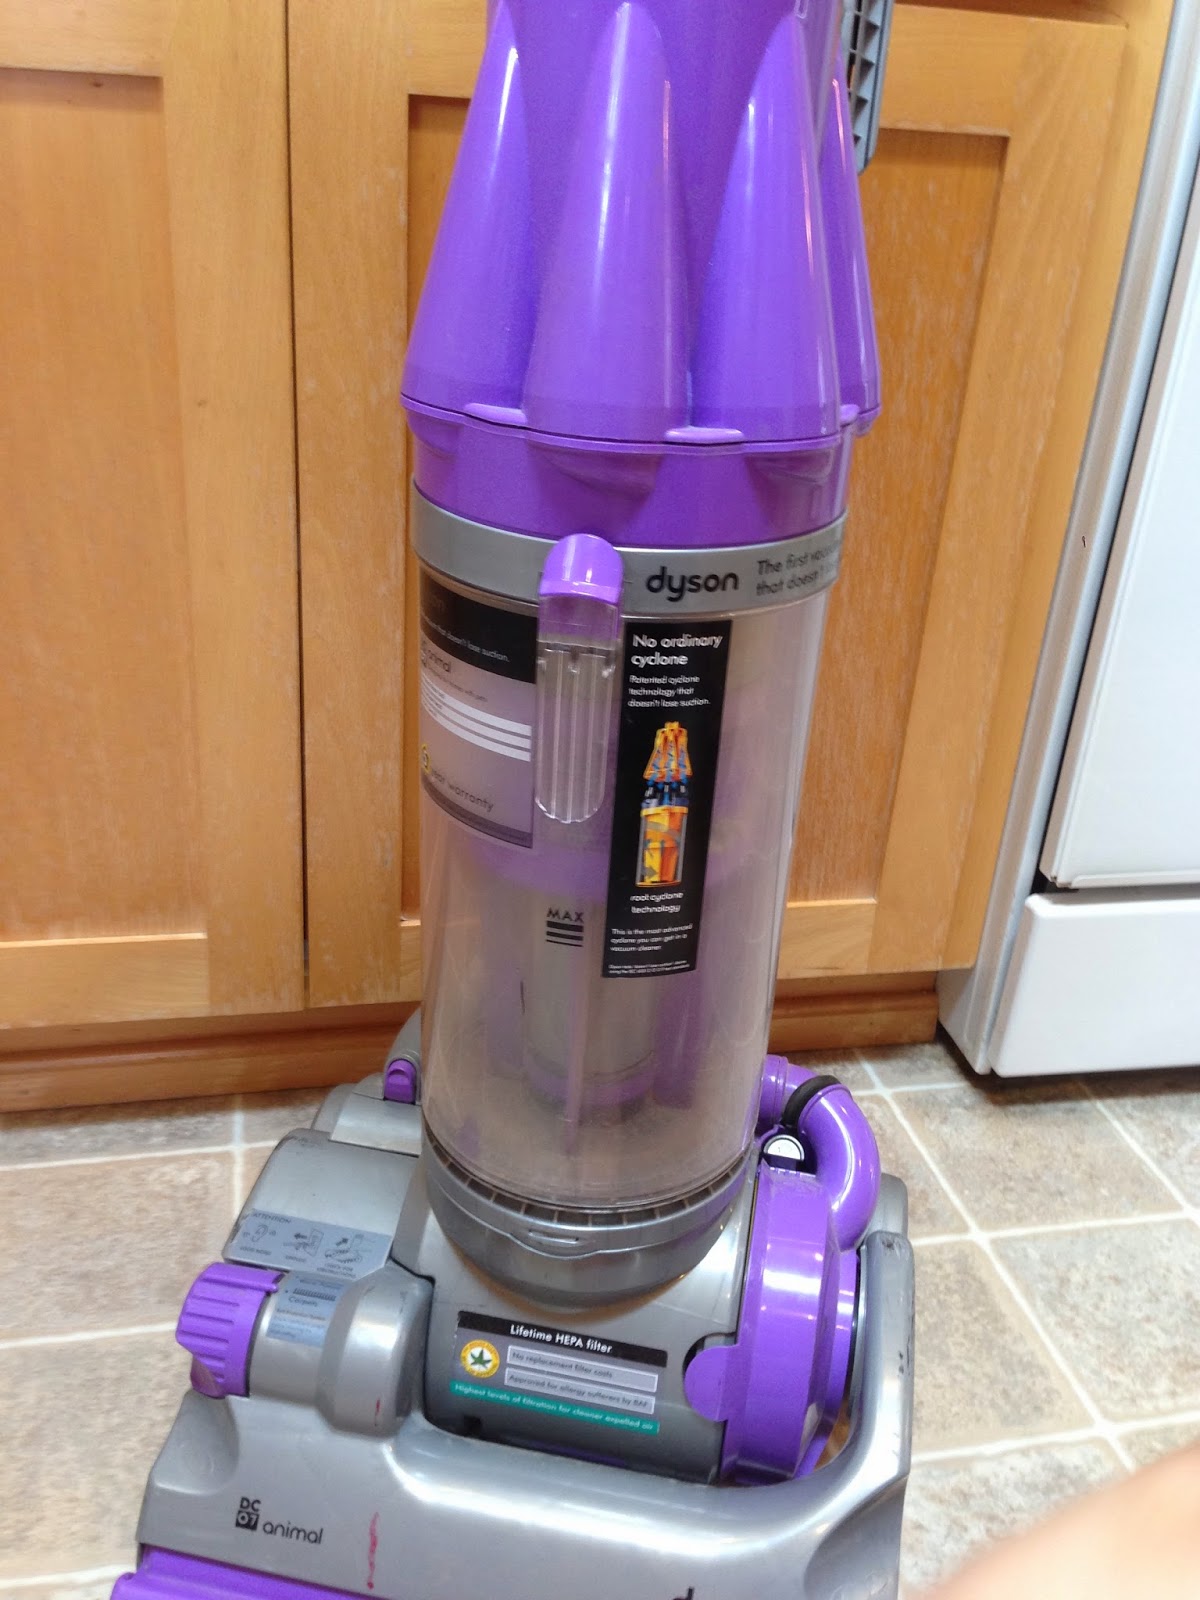
This specific model seems to be different to clean than most, but here is the video that I referenced in order to get my Dyson cleaned.
I ended up taking my vacuum pretty much all the way apart looking for the top filter, which, by the way, I never found. However, my vacuum was cleaned even more thoroughly as I used a screwdriver and cleaned everything. And, I mean everything.
Start by taking off the canister by pressing the button up to unlock and remove. I'm including a lot of pictures to be sure I remember for the next time I have to clean my vacuum. :)
Be sure to remove it either in the garbage or in the sink so it can be easily cleaned up.
Here is where I went too far; I unscrewed the top of my vacuum cleaner just looking for that top filter. A filter that couldn't be found.
However, because of removing the top, I was able to clean the nasty inside of my vacuum in a different way than recommend in the video (seriously, all I would've had to do was poor water in and dump it out over and over. But, not me, I decided to unscrew the whole thing. Smarty pants that I am.)
See? Filthy. Notice that stick in the middle? That's important when re-assembling your vacuum cleaner, it is the doohicky that opens the canister.
Start cleaning that nastiness out by just letting the water run through it. Again, this was the longer version - all you really have to do is lift up the part that's not the canister and fill it with water and dump it over and over, as per the directions in the video above.
Look how much prettier it is all cleaned out!
Once that is done, put the filter-y looking thing that the canister sits in under the water and rinse that out, using a scrub brush, if you'd like.
And, I went so far as to clean out the top of the vacuum cleaner - the part that I unscrewed.
This next part (which I actually did halfway through the cleaning process of the top of the vacuum,) is simple and exactly as described on the vacuum and in the video. Remove the other filter. (I only found one to remove.) First, fully extend and lay flat your vacuum.
This is where you remove the filter (this is the right side of the vacuum if you are standing with the rollers (AKA the sucky part) facing you).
Look at that there filter!
To clean this, all you do is put the sponge part under the water and then squeeze it. Repeat until the water squeezed out is clear. Then put the sponge holder under the water and rinse, again, rinsing until the water flowing through the holder is clear.
Use a washcloth or clorox wipe and wipe down the rest of the vacuum and then, let it all dry for 24 hours. I laid it in the sun to be sure it would be completely dry. But, before I did that, I took a picture. Look how clean and pretty my vacuum pieces are now. (That little purple piece there to the right of the picture is a little piece that broke off, but not to worry - it has not made my vacuum work any less, thankfully.)
And there you have it. Cleaning your Dyson animal. PS - this blog post is mainly for my benefit so that I remember how to clean my vacuum next time I go to do it! :)


Thank you for posting such a great blog. I found your website perfect for my needs. Read About Dyson HEPA Air Filter
ReplyDeleteGreat job here on _______ I read a lot of blog posts, but I never heard a topic like this. I Love this topic you made about the blogger's bucket list. Very resourceful. food toppers for dogs
ReplyDeleteWhat a sensational blog! This blog is too much amazing in all aspects. Especially, it looks awesome and the content available on it is utmost qualitative. food toppers for dogs
ReplyDeleteWhite
ReplyDelete