Wednesday, May 28, 2014

Removing Water Rings

"Please use a coaster!" I remember hearing that a lot when I was little. My mom would always tell us that if we weren't careful we'd leave rings on her table. The funny thing is, I don't recall ever seeing rings on any tables. My little non-observant eyes failed me in noticing such things, I suppose. As I've gotten older and my "mom eyes" (or maybe it's just "grown up eyes") have kicked in, I am far more aware of the effects of condensation from hot mugs or cold drinks on my oh-so precious wooden furniture. Unfortunately, I don't always catch the condensated (is that even a word??) drinks before they have been left on my furniture. And my furniture reminds me of it...sadly. Thankfully we are in luck!! I have discovered a simple solution, to see the solution, go here.

Here it is...the dreaded ring.

This ring has been here for months and months. A very long time. So the likelihood of it going away seemed very slim, but I gave it a try just the same.


I had my blow dryer on full blast high heat for a good amount of time. I'm thankful for the picture proof, because otherwise I think I may have been unsure if it was actually fading. This next picture was taken about 15 minutes in. Not a significant change, but it was starting.


I had to leave the blow dryer on for a good 30 minutes and I moved it around so it would distribute the heat on that spot more evenly. Cade enjoyed it as he grabbed different toys and experimented with whether the blow dryer would be able to blow the items off of the table. This provided a good amount of entertainment for both of us, which was good since it took so long. As you can see from the picture below, there was still a faint water ring, but after refinishing the table with coconut oil (posting about this soon!), it was completely gone. I think that the faint water ring was actually just where the wood had dried out a bit.


Once the table was buffed, I couldn't find the water ring easily. Here it is, all shined and beautified. I'd say this was a Pinterest success!!


Monday, May 26, 2014

Bread Pudding

I know, I know. This blog is really becoming more about desserts that I've been experimenting with than anything else, but there's light at the end of that tunnel - my next post will have to do with cleaning. So, anticipate that and be grateful for the dessert post that I'm about to share. ;) You can check out this recipe here.

Photo from all recipes.com
This is a mother's day post as well...a few weeks late. My mom is one of my very favorite people. She is thoughtful, honest, real, private, an amazing secret-keeper, humble, loyal, loving, kind, considerate, dependable, selfless and a plethora of other good descriptive words that could fill up a single-spaced, 18-page essay. She is that awesome.
Here's my awesome mom.
For the last 3 years or so, my sister, Becca, and I have been making my mom an extravagant Mother's Day lunch. We try to make her something fun, fancy, tasty, different-than-the-norm, and something we know she would enjoy. This year's meal was tender, juicy steaks (per her request), bacon wrapped asparagus, twice baked potatoes, rolls, sautéed mushrooms and bread pudding.

One of my mom's favorite desserts is good bread pudding, but she rarely gets to enjoy it for a number of reasons: 1) it's never as enjoyable when you make it yourself, 2) none of her family enjoys it quite as much as she does so we don't make it often, 3) my mom is giving and considerate and always putting her children's needs (and wants) before her own, meaning bread pudding isn't the top dessert choice.  So, bread pudding won. Two years in a row, in fact.

The recipe is really good, although a bit heavy on the liquid. If not for that, this is amazing. Next time, I will either add more bread or cut the liquid by at least a quarter. I did not put in raisins this time. (I did the first time). We all like it better without the raisins.  Here's a picture of it pre-cooked.


After it was baked, it was still quite runny unless you got one of the slightly crisped edges which were absolutely wonderful. Here is a picture of it post-baked. Still a little too runny...


It truly was quite good. My mom liked it, which is what was most important to us. I would recommend reading the comments on allrecipes.com. I did that the first time around and didn't end up with it being so runny. So, check those out. People have lots of ideas, suggestions and tips to get it just the way you want it. Either way, this was delightful. I didn't have any whipped cream, so the picture below looks a little boring and...wet, but it was quite tasty.


There you have it, a delightful dessert that my sister and I were able to spoil my mom with. And with that, I'd just like to say, Happy (belated) Mother's Day to the best mom a girl could ask for. Thank you for raising me in a Christ-filled environment, for loving me, being there for me (and my husband and kids), showing me how to be a good mom and wife and for just being my amazing mama. You are one of my best friends and I love you. I love you enough to make you bread pudding. That's saying something. ;)

Mom, Becca (my mother's day cooking buddy) and me

Tuesday, May 20, 2014

Peach Cobbler

I realize that I do a whole lot of posts that are about food. But, they seem to be the easiest thing for me to make time for since they are essential for survival, therefore easy to stay on track for blogging. This, however, is not an essential dish for survival. Tasty, yes. Survival necessity, no. :) I decided, just for kicks, to try to make something from my Sweet Treats board on Pinterest the other day and I came across this recipe for peach cobbler.

Photo from Pinterest
So, I gave this recipe a try. It's full of fat and sugar and peaches and deliciousness. I used the frozen peaches I picked last year, so it made my cobbler extra runny, which I didn't prepare for. I didn't manage to take many picture of this process because the blog listed above has some great pictures to check out.

Next time, I think I will be sure to take out about half of the liquid that was in the dish if I use frozen peaches and will probably bake it for a bit longer, but it still turned out pretty tasty. It was quite rich, but went down delightfully delicious with a dollop of whipped cream. Yum! I only took one picture, and it did not do this dish justice, but I'll post it for you just the same...


Friday, May 16, 2014

Paleo Fried Cube Steak

I'm trying. I'm really trying. Eating healthy and just things that are real foods; not the processed stuff. In my efforts, I've discovered that quite frequently the paleo diet is helping me with this. A while back, my husband and I bought a 1/4 of a cow and because of this, I've had the opportunity to experiment with cuts of meat that I wouldn't normally try - cow tongue anyone? Actually, I think we gave the tongue away. I just couldn't bring myself to making it. Anyhow, we had some cube steak just sitting in our freezer waiting to be used and I finally got around to it. Thankfully, I found this recipe for paleo cube steak that wasn't too complicated and was quite tasty.

Photo from Pinterest
The recipe recommends using seasonings of your choice. I used all of the seasonings that she recommended in her blog. I'm not creative or daring enough to try something different. I added the olive oil and stirred it all up until it was the consistency of breadcrumbs.


Then I put my cube steak in the mix and laid it in the hot pan.
 Flipping the steak over wasn't super easy. The mixture actually stuck to the pan quite a bit as I tried to flip the meat. But, it still worked out fairly well.


For our whole dinner, I added fresh ingredient crescent rolls and steamed asparagus and carrots. This dinner was satisfying, if unattractive. It was quick and tasty and I'd recommend it for sure.


Wednesday, May 14, 2014

Homemade Gummies

My son loves sweets. A lot. He is obviously his mother's son. He likes candy and gummy treats. There's not a lot of good stuff in most of those and, although I try my darndest to get the healthiest of these unhealthy treats, I have still been searching for a healthier option that tastes similar because I feel slightly guilty every time he eats them. I've seen lots of pins for making homemade gummies, and I've been curious, but never daring enough to try them. Until today. I made peach gummies. Check out the link here for the directions.

Photo from Pinterest
I was pretty excited to make these. Sadly, they weren't good. Maybe if I had gone with one of the combinations of ingredients that was recommended in the blog, but I didn't. I thought sticking to just one fruit would be a good test. And, I think it was. These don't taste like gummies. They taste like bland jello. Blech! But, if you are interested in making them and would like to see what it looks like, read on.  I used peaches that I had frozen from last fall and mixed them up real good in our blendtec blender then added the ingredients as listed in the blog above. The coolest part was watching the gelatin turn the peach liquid into something that looked like old person skin. Unappetizing, but interesting.

It doesn't seem like it will all dissolve into the liquid, but it eventually does. I think it took about 20 minutes.


After it's all dissolved, then you do a light boil and add in the rest of the ingredients.


Then, pour it onto a cookie sheet and let it set. I put it in the fridge for a few hours. It looks so marble-y and cool. :)


After it set, I took it out, took a picture of how neat it looked and then cut it up.


Then I ate it and tried to choke it down. Ok, that might be a slight exaggeration, but it wasn't very good.


In fact, it was so not good, that my son asked for more...but not to eat - just to line up in the cupboard for fun...hmmm...at least they weren't sticky (or at least didn't leave any stickiness) like the processed gummies you get at the store...and now for your viewing pleasure, my son's idea of something fun to do with the gummies.


I guess we will try to a different version sometime, because this was no good. It may have been good if it was what I was expecting, but the consistency wasn't right. I may make them in the future as jello...because they may be good like that, but calling these gummies (although jello is a tad gummy) is false advertising, in my opinion.

Monday, May 12, 2014

Snickerdoodle Apple Crisp

Doesn't the title alone make you salivate, or is it just me? You may recall my older post where I made healthy chocolate peanut butter cups as a dessert for some friends. Well, I tried this one as well for our dinner date. And this was amazing! Seriously. I loved it. I was a little worried that it would be too rich and sweet, but it wasn't. At least not to me. Snickerdoodle Apple Crisp. A-M-A-Z-I-N-G!

Photo from Pinterest

This was so easy to make too. Cade helped a little. Don't worry, he didn't actually put any heaping spoonfuls into the bowl, this was just the "stirring spoon" he wanted to use.


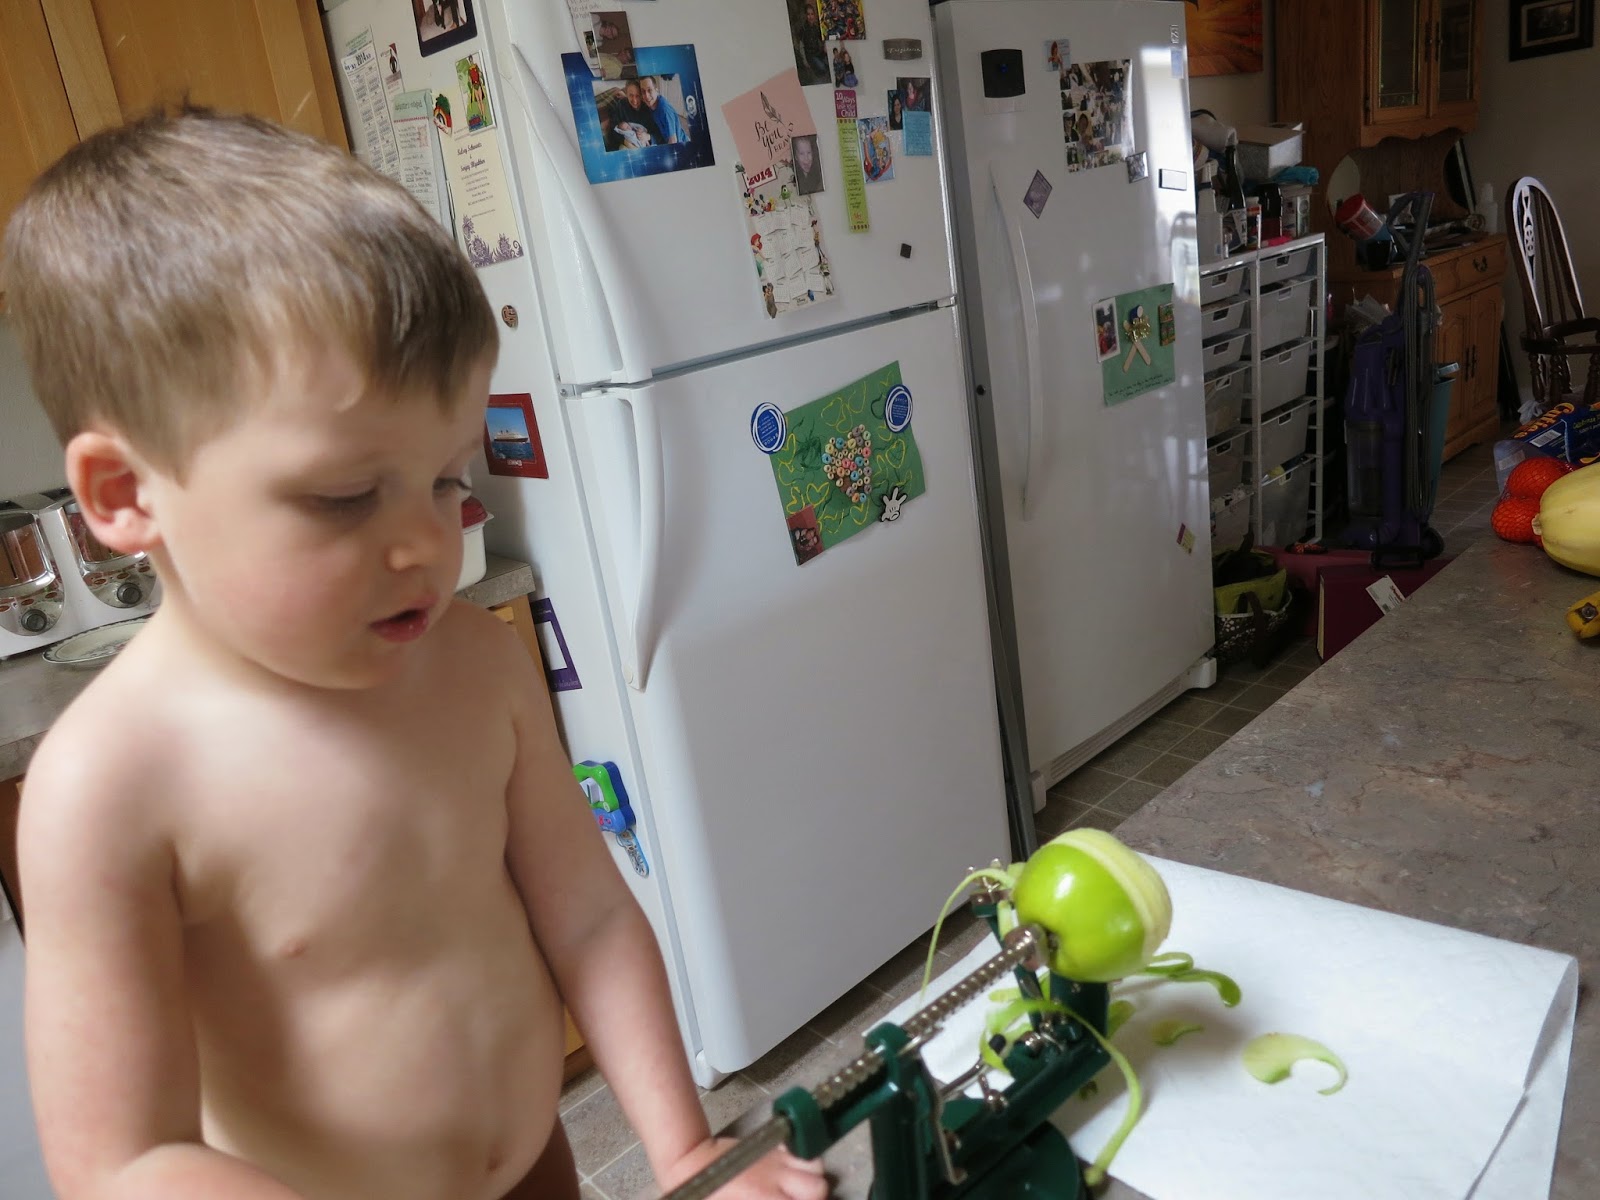
After the snickerdoodle batter (which for some reason my computer auto-corrected to "snicker doodle bawler...") was prepared, we stuck it in the fridge and started working on preparing our apples.I have a fancy apple peeler and corer that we used. This was a perfect chore for my little man. I used a whole prepackaged bag of Granny Smith apples from Winco for this part.


We got the ingredients all mixed together and had these delightfully tasty-looking apples. 


Then, we pulled out the snickerdoodle dough and rolled the dough. Cade rolled it in the cinnamon-sugar combo, I flattened them and we put them in the dish. 


The end result didn't look quite as tasty as the image from the blog listed above, but I think that is partly because I baked it too long. So, take note: the cookie part of this dish should have very little brown when you take it out. The sides got a little too dark and it was a little crunchier than I would've liked, but it still turned out alright.


We put whipped cream on top, and the whole dish was devoured before we left the party. My son wasn't crazy about it, however he really liked the whipped cream. My friend's son didn't really like it either (I know this because of the "Um...this is pretty gross..." statement.) But, the adults in the room all loved it...or so they say. Well, I loved it, even if they didn't. I'm pretty sure I wasn't the only one that loved it though. Hmm...maybe I'll just have to try making it again just to be sure. *snicker* :)


Friday, May 9, 2014

Crock Pot Baked Potato

Hi All! My friend, Erin, told me about this great recipe she completed recently and recommended that I blog about it. So, I handed her the reigns and had her do her very first blog entry! I'm happy to introduce you to my friend, Erin, and her Pinterest Success. So, without further adieu, here she is...


A few months back my home church, Court Street Christian Church, did a really awesome Wednesday night community dinner of loaded baked potatoes, and it was a total hit! Since then, I have craved the yumminess that was that night. So one night a couple weeks ago I decided that's what's for dinner, loaded crock pot baked potatoes!! Mmmmmm, my mouth is drooling thinking about it again. I digress....the day I chose to make the potatoes was an unusually warm day for Washington, and I didn't want to heat my house up with the oven, so I went back to a website I had seen where you could make Crock Pot Baked Potatoes !! Genius, right?!

Photo from theyummylife.com

The website talks about baking many small potatoes, but I had bought 3 GIANT potatoes so I was unsure how they would turn out. 


This was rather easy, I poked a few holes in the potatoes and wrapped them in foil, just as if I was going to bake them in the oven. Then I threw them in the crockpot, and turned that baby on high for 6 hours. About 5 hours in I checked them, and they were definitely soft, but the husband wasn't home from work yet, so I kept them on warm for about another hour and a half. When I final did take them out, they were .... PERFECT!! 


As you can see, the potatoes turned out soft, but not overcooked. I actually think this may be my new go-to method of baking potatoes, as it doesn't heat the house up at all. I would call this a Pinterest WIN!! 


Monday, May 5, 2014

Rainbow Rice


It's been a while since I've done a blog on anything other than food. I love food. I always intend to blog about something else, but then a delightfully tasty looking meal pops up on Pinterest, my mouth starts to water, and all I can think about is making a new dish, rather than trying anything else. However, I found time to - finally - blog about something else. Rainbow Rice!

Photo from Pinterest
I decided sensory play with my son would be a good activity, plus he could help me make the colored rice. I ended up using vinegar instead of rubbing alcohol, and it didn't end up smelling up the whole house like I thought it might.


I didn't put the rice into ziploc baggies. In my opinion, I didn't need to waste the plastic bags. Instead, I used a tupperware bowl for each of the colors. (1 cup of rice for each color). After we mixed it up a bit, I put the lid on the tupperware and my son got to shake it all up until the color was mixed through.


After it was all mixed, I laid some tin foil on a baking sheet and put the colored rice in it. Then we put it on the porch in the sunshine to dry out.


It took, maybe, an hour (max) for the rice to completely dry out. My poor boy was so excited to use this, but it took us a few days to actually do something with the rice. I couldn't seem to get up the courage to give my son a bowl of rice that could be thrown everywhere...since that seems to be his favorite thing to do. But, eventually we did do something with it.


And here is what I have learned:

1) Use a bigger tupperware container.

2) Put an even bigger pan underneath the tupperware container as the "catch all."


3) Let your child have a blast and make a mess while you close your eyes, cringe and take deep breaths...and then think about taking it outside for more playtime.

4) Be sure it is played with in an area that is easy to clean up...i.e. the kitchen, dining room (somewhere not carpeted) or outdoors (where it will be swept away by the elements eventually).

And there you have it. It was a fun little activity that I don't think we will do again. Until I forget how stressed out I was about this sensory play. Next time, we'll just go to Creative Studio for Kids where my son can play in the pre-made sensory bin and I don't have to worry about cleaning it up. But, if your child isn't as messy as mine, this may be the perfect activity for you and your littles.

PS - I did find another blog (after the fact) that gave some other ideas of things to do with the colored rice: Fill up empty water bottles and seal tight to make colorful shakers, or sprinkle on sticky paper to create mosaic-style artworks. Find out more, by check out this blog. Ok....with that being said, maybe I will try it again in the future.... :)